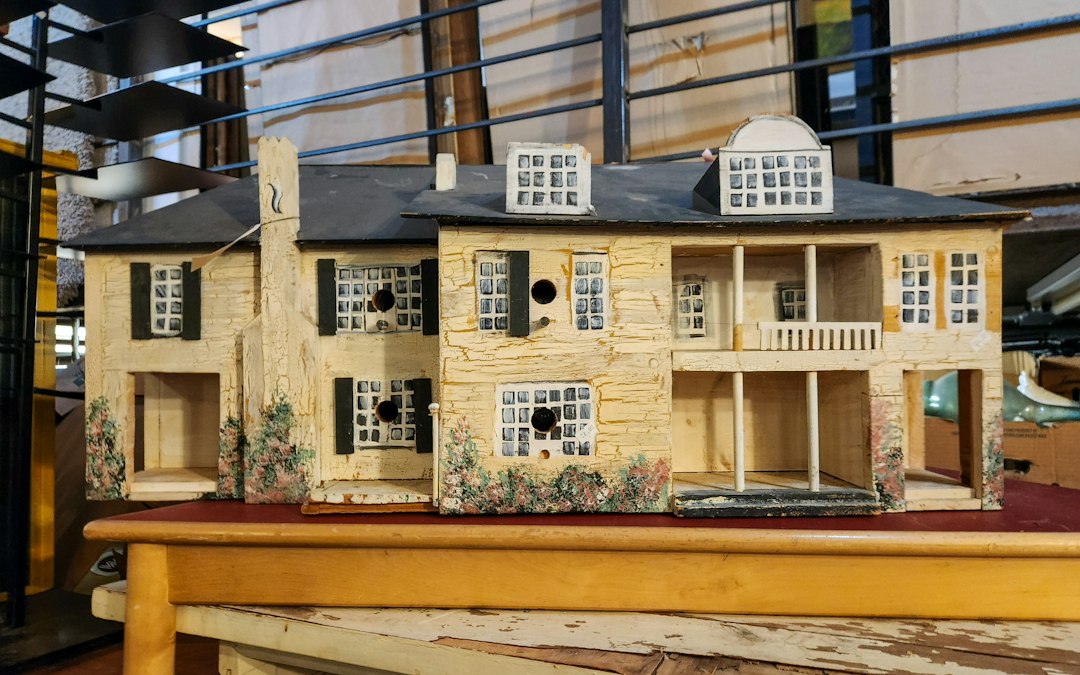
Tiny Tactiles Are Rising: A Beginner’s Guide to Miniature DIY in 2026
Updated September 21, 2026. Miniature making is moving beyond the traditional dollhouse. A new wave of small-scale projects—tiny rooms, printable food, recycled-object miniatures and pocket-size terrariums—is attracting people who want a hands-on project that can fit on a desk.
The strongest current signal comes from Pinterest’s 2026 Hobbies Trend Report. The platform groups this movement under “Tiny Tactiles” and reports rising searches for “miniatures from trash” (+437%), “printable mini food” (+355%), “mini room craft” (+296%) and “dollhouse DIY” (+153%). Martha Stewart’s recent coverage of the report also highlights the growing “mini world” momentum around dollhouses, tiny food printables and terrariums.
What are “Tiny Tactiles”?
Think of Tiny Tactiles as a broad miniature-making habit rather than a single aesthetic. The common idea is simple: build, print, paint or arrange a recognizable real-world scene at a much smaller scale. That could mean a cardboard reading nook, a tiny café counter, a miniature greenhouse or a sheet of printable food packaging for a dollhouse kitchen.
The appeal is unusually broad. A beginner can make a room from a small box and scrapbook paper, while an experienced maker can spend days on lighting, furniture, paint finishes and scale accuracy. The projects are also naturally modular: you can finish one shelf, one wall or one object without committing to an entire house.
Four miniature projects that make sense for beginners
1. Build a mini room from a box
A sturdy gift box or small shipping box can become a room shell. Choose one simple theme—reading corner, sewing room, greenhouse or café—then cover the walls with plain paper or a printed pattern. Add a floor from cardstock, thin craft sticks or textured paper.
Start with only three focal objects. A tiny chair, table and wall print usually look more convincing than filling every centimeter. If you enjoy paper-based projects, Rihalo’s guide to making a mini magazine offers useful ideas for working with small-format print layouts.
2. Make printable miniature food
Printable mini food is one of the clearest digital-to-physical angles in the trend. A design begins on screen as a small package net or label, then becomes a three-dimensional object after printing, cutting, folding and gluing.
For original projects, use generic food categories and your own illustrations or typography rather than reproducing real packaging, logos or protected characters. Test-print on ordinary paper first. Once the scale feels right, move to heavier matte paper or lightweight cardstock.
3. Turn clean household scraps into miniatures
The “miniatures from trash” search signal makes upcycling especially interesting. Bottle caps can become tabletops, clean cardboard can become shelving, fabric offcuts can become rugs and tiny pieces of packaging can become structural material.
The trick is to look at shape before identity. A cap does not have to remain a cap; upside down, it might become a planter. Corrugated cardboard can be peeled, layered or painted. This approach overlaps naturally with the repair-and-reuse mindset behind visible mending and creative upcycling.
4. Create a tiny seasonal scene
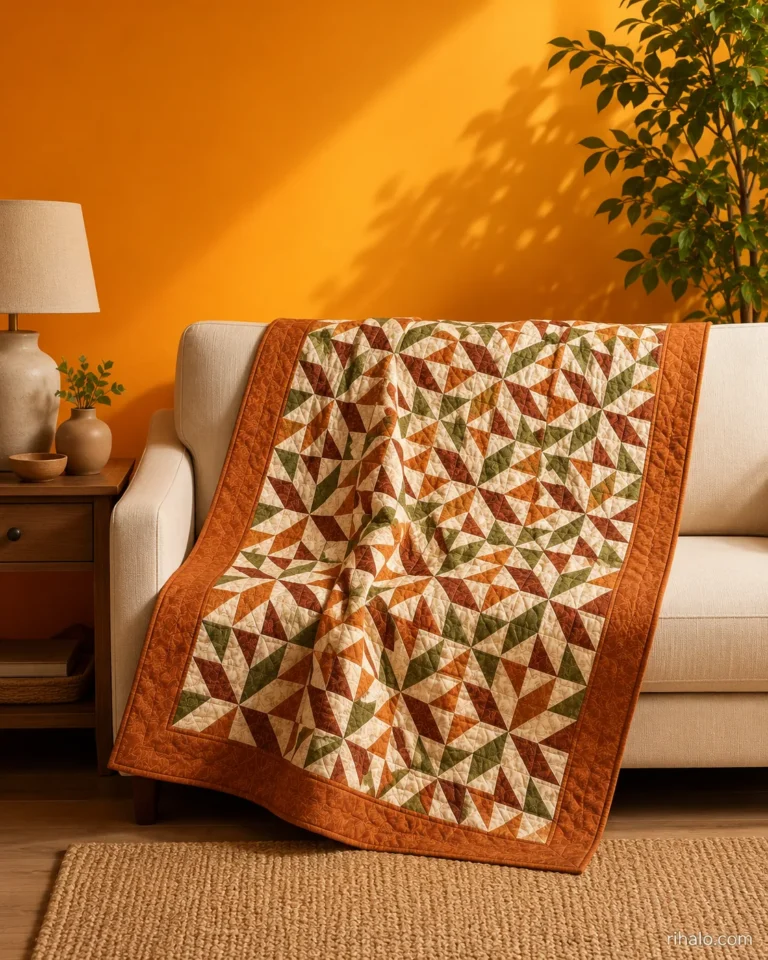
Miniatures work particularly well for seasonal décor because the project can stay compact. For fall, try a tiny reading nook with paper leaves and a miniature quilt. For Halloween, build a generic haunted room using black cardstock, paper bats and a battery-powered light—without copying branded characters.
Choose a scale before you start
Scale keeps a miniature scene visually coherent. You do not need museum-level precision, but deciding on a rough scale before printing or building prevents a chair from looking enormous next to a table.
| Approach | Best for | Beginner note |
|---|---|---|
| 1:12 | Classic dollhouse scenes | Large enough for easier cutting and detail |
| 1:24 | Smaller room boxes | Needs more precise tools |
| Free scale | Decorative dioramas | Keep proportions consistent within one scene |
What you actually need to get started
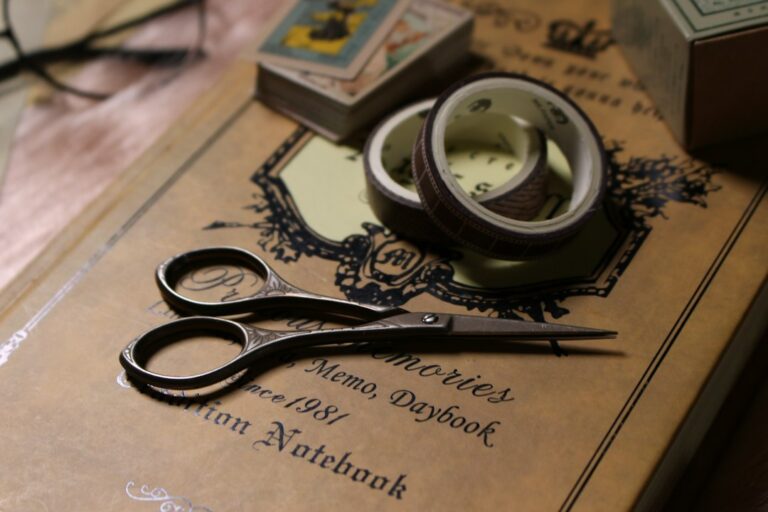
You can make a first project with surprisingly little equipment. The core kit is a cutting surface, a sharp craft knife or precision scissors, a metal ruler, paper-safe glue, tweezers and a pencil. For printable projects, a home printer and suitable paper add flexibility. For room boxes, cardstock, thin wood strips, acrylic paint and small brushes cover most beginner needs.
Before buying anything, decide whether you prefer paper miniatures, room construction or model detailing. That decision matters more than buying a large all-purpose kit. Paper makers benefit from accurate cutting tools; builders may get more value from clamps and adhesives; painters need fine brushes and controlled lighting.
How to design your own miniature printables
Mini printables are a natural extension of digital design. Start with a simple object such as a book cover, wall poster, cereal-style box with entirely original branding, seed packet or storage carton. Build the flat layout at a larger working size, then reduce it only after checking folds and tabs.
Keep type larger than you think you need. Very fine lettering may disappear when printed at miniature scale. Use strong contrast, simple shapes and clear fold lines. Export a test PDF and print at 100% rather than “fit to page” when accurate dimensions matter.
If you enjoy compact editorial layouts, the same hierarchy principles used in Rihalo’s scrapcabineting guide translate well to tiny wall art, labels and miniature ephemera.
Common mistakes that make miniatures look less convincing
- Mixing scales: measure the largest objects first and size everything else around them.
- Using too many materials: a restrained palette makes a small scene feel intentional.
- Skipping test prints: screen size is not print size. Test before using premium paper.
- Overfilling the room: negative space makes details easier to read.
- Copying real packaging: create original labels and graphics instead of reproducing trademarks or copyrighted artwork.
- Using the wrong adhesive: too much wet glue can warp paper and leave shiny residue.
A simple 60-minute first project
Choose a small box and make a miniature reading corner. Cover one interior wall with patterned paper, cut a simple floor from neutral cardstock, build two stacked “books” from folded paper, and make a bench from layered cardboard. Add one original miniature poster and a small fabric scrap as a rug. Stop there.
The point of the first project is not realism; it is learning how scale, cutting and material thickness behave. On the second build, you can add lighting, paint or more complex furniture.
Why the trend has room to grow
The current search pattern is notable because it connects physical craft with digital files. Printable mini food and mini-room templates can be designed digitally, while the final experience remains tactile. Upcycled miniatures add a low-cost route, and dollhouse DIY gives experienced makers a deeper path. That combination makes the trend relevant to crafters, printable designers and hobby collectors rather than a single narrow audience.
It also fits the broader 2026 shift toward hands-on hobbies documented by Pinterest: people are looking for activities that produce a physical result and allow personalization. Tiny projects lower the space barrier because a full scene can live on a shelf rather than occupy a dedicated craft room.
FAQ
What is the easiest miniature craft for a beginner?
A one-room box made from cardboard is one of the easiest starting points because it teaches scale and composition without requiring complex tools.
What paper works best for miniature printables?
Ordinary printer paper is useful for prototypes. Lightweight cardstock or heavier matte paper is often better for small boxes and structural printables, but the ideal weight depends on the printer and scale.
Do I need a miniature kit?
No. Kits can simplify sourcing, but a first scene can be made from cardstock, clean recycled materials, glue and basic cutting tools.
Can I sell miniature printables I design?
You can sell original work you have the rights to use. Avoid copying brand packaging, characters, logos, artwork or other protected material, and check the license for any fonts, graphics or assets included in your design.