Hot Glue Embroidery Is Rising: How to Try the Textured Stitch Trend
Updated September 20, 2026. A simple embroidery trick is moving from craft-hack territory into a broader making trend: hot glue embroidery. Pinterest’s 2026 Hobbies Trend Report says searches for the technique are up 534%, placing it among the platform’s fastest-rising stitched-and-sculpted craft searches. A family workshop devoted to the method is also scheduled at KID Museum for September 27, giving the trend a current offline signal as well as search momentum.
Why hot glue embroidery is getting attention now
The technique sits at the intersection of several craft movements that are already growing: hand embroidery, tactile texture, beginner-friendly customization and projects that transform everyday fabric items. Pinterest reports hand-embroidery-art searches up 1,351% in the same 2026 report, while hot glue embroidery itself rose 534%.
That does not mean it replaces traditional embroidery. The appeal is different. Instead of building height through many carefully placed stitches, the maker first creates a physical ridge and then wraps or stitches over it. The result can resemble padded lettering or raised line art, but the construction is much quicker to understand.
The technique has also moved beyond social feeds. San Francisco Public Library ran a hot glue embroidery workshop in January 2026 using fabric items such as totes and aprons, and KID Museum lists a September 27 family workshop centered on raised embroidery made with hot glue and thread. Those programs are useful evidence that the idea has become teachable enough for beginner-facing maker spaces.
How the technique works
The basic process is straightforward, but neat results depend on planning. You draw a simple motif, trace it with a controlled bead of glue, allow the glue to cool completely, then cover the raised line with thread. The thread is what creates the finished visual surface; the glue acts as structure underneath.
1. Start with a simple design
Choose a motif made from broad, continuous lines: a heart, star, flower outline, initial or short word. Intricate illustrations with tiny corners are harder because a glue gun cannot produce the same precision as a needle.
2. Stabilize the fabric
Place the fabric in an embroidery hoop and keep the working area reasonably taut. For a first project, a sturdy woven fabric is more forgiving than a thin stretch knit because it is less likely to distort while you work.
3. Draw the raised foundation
Mark the design lightly with a removable fabric marker or pencil appropriate for the fabric. Apply an even bead of hot glue over the line. Avoid oversized blobs at corners and intersections; a consistent ridge is easier to cover cleanly.
4. Let the glue cool completely
Do not stitch into or handle freshly applied glue. Hot-melt adhesive and the glue-gun nozzle can cause burns. Let the ridge become fully cool and firm before continuing, and follow the glue gun manufacturer’s safety directions.
5. Cover the ridge with thread
Bring the needle up beside the ridge, pass the thread over it, then return the needle through the fabric on the opposite side. Repeat closely enough that the glue disappears beneath the thread. Keep the tension consistent: too loose and the base shows; too tight and the fabric may pucker.
Best fabrics and projects for beginners
Because the technique combines heat, adhesive and hand stitching, project choice matters. A stable fabric with enough body to support the raised line is the safest place to learn. One Little Project, in its detailed hot-glue embroidery tutorial, recommends sturdy, low-stretch fabrics such as linen, Aida and monk’s cloth for beginners.
| Project | Why it works | Difficulty |
|---|---|---|
| Hoop art | Flat, stable and easy to control | Easy |
| Canvas tote | Firm fabric and useful finished item | Easy |
| Apron | Large area for lettering or motifs | Easy–moderate |
| Denim panel | Strong base for dimensional stitching | Moderate |
| Stretch T-shirt | Can distort and needs more care | Advanced for this method |
What to compare before buying supplies
You do not need a large studio setup. The useful variables are control, scale and compatibility with the fabric. A small glue gun can be easier to maneuver for narrow lettering; a low-temperature model may be preferable for some materials, but the fabric and adhesive still need to be tested first. For thread, embroidery floss gives a familiar stitched finish, while thicker yarn or cord can create a bolder surface if the needle and fabric can accommodate it.
A practical starter setup usually includes an embroidery hoop, suitable fabric, a glue gun and compatible glue sticks, embroidery floss, a large-eye needle, fabric-marking tool and sharp scissors. This is also the natural place to compare tools later: precision glue guns, hoops, needle assortments and thread organizers can make a meaningful difference without turning the project into a gadget collection.
Design ideas that suit raised embroidery
Hot glue embroidery works best when the raised structure is part of the design rather than an afterthought. Try a single oversized initial on a tote, a continuous flower outline, a short name, a simple bow, a star, or a small seasonal motif. Lettering can be especially effective because the raised foundation creates a padded look with relatively simple over-stitching.
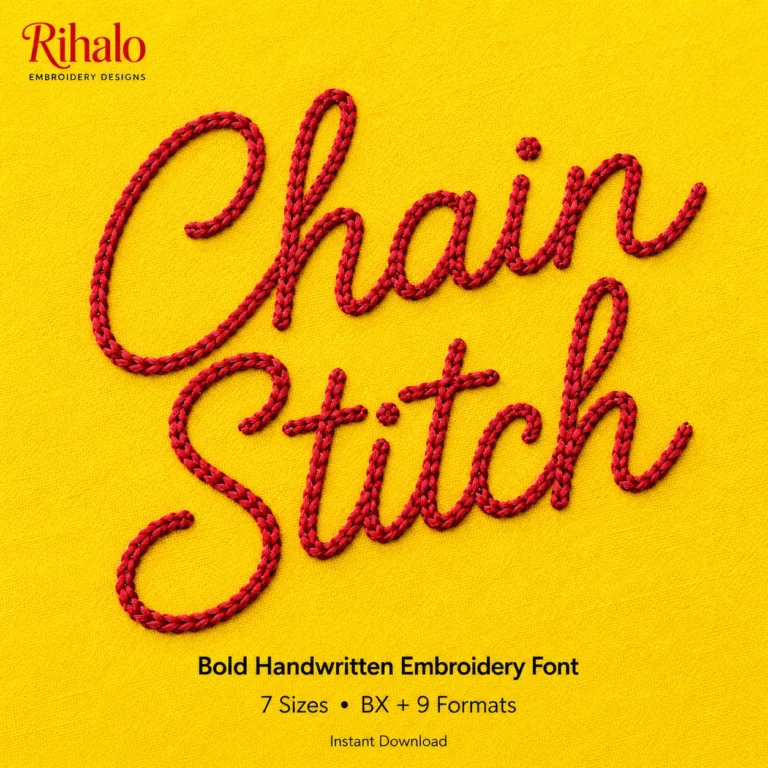
If lettering is your main interest, compare the dimensional effect with Rihalo’s guide to chain-stitch embroidery and the ideas in monogram embroidery personalization. For repair-led stitching rather than decoration, our visible mending and sashiko guide is a better starting point.
Where hot glue embroidery is less suitable
Not every item benefits from a rigid adhesive core. Avoid treating this as a universal substitute for embroidery. Very stretchy garments, delicate or heat-sensitive fabrics, areas that need to fold tightly, and pieces expected to withstand heavy laundering deserve extra caution. Test a scrap first and consider traditional padded stitches when durability, softness or washability matters more than speed.
For children’s projects, an adult should handle or closely supervise the hot glue stage according to the tool manufacturer’s age and safety guidance. Maker workshops may set their own minimum ages and supervision rules.
How to make the result look polished
- Keep the glue bead consistent. Uneven foundations remain visible after wrapping.
- Use fewer, stronger lines. Simple shapes generally look cleaner than crowded details.
- Match thread coverage to the ridge. Place stitches close enough to hide the adhesive completely.
- Watch the back of the fabric. Secure thread neatly so bulky knots do not compete with the raised front.
- Test first. A small fabric scrap reveals how the material reacts to heat, glue and needle tension.
Hot glue embroidery vs. traditional raised embroidery
Traditional dimensional embroidery can build relief through padded satin stitch, couching, stumpwork and other techniques. Those methods offer more control and can be more appropriate for heirloom-quality work. Hot glue embroidery is best understood as an accessible mixed-media shortcut: it trades some textile purity and flexibility for speed, obvious dimension and a low barrier to experimentation.
That distinction matters. The current trend is interesting precisely because it introduces people to the visual language of raised stitching. Makers who enjoy the effect may eventually move toward more traditional embroidery techniques; others may prefer the quick mixed-media approach for decorative projects.
FAQ
Is hot glue embroidery actually embroidery?
It combines hand stitching with an adhesive structure. The visible surface is made with thread, but the raised foundation is glue rather than traditional stitched padding, so it is best described as a mixed-media embroidery technique.
What design should a beginner try?
A heart, initial, star or simple flower outline is easier than fine lettering or detailed illustration. Broad curves are easier to trace evenly with a glue gun.
Can you use it on clothing?
It can be used on some fabric items, but washability, flexibility and heat sensitivity vary. Test the exact fabric and adhesive first. For frequently washed or stretchy garments, a conventional embroidery method may be the better choice.
Sources & further reading
- Pinterest Newsroom — 2026 Hobbies Trend Report (August 25, 2026)
- KID Museum — Sunday Workshops: Hot Glue Embroidery (September 27, 2026 workshop listing)
- San Francisco Public Library — Hot Glue Embroidery Workshop
- Dengarden — Hot Glue Embroidery Hack for Raised Lettering (August 6, 2026)